


Sustainable Solutions: How Digital Signage Helps American Businesses Go Green
As sustainability becomes an increasing priority for modern American businesses, many business owners are looking for innovative ways to reduce their carbon footprint and adopt eco-friendly practices. Digital signage offers a compelling

Adapting Digital Signage for Seasonal Campaigns and Holiday Promotions
The holidays are fast approaching, which means many businesses are gearing up for their holiday marketing campaigns, promotions, and initiatives. There are many ways to use digital signage for holiday

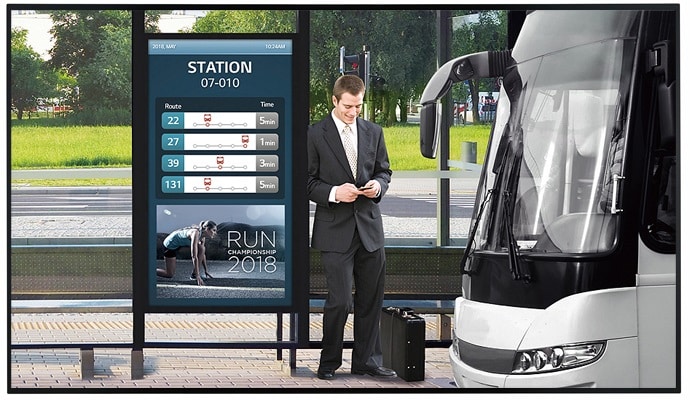
5 Ways to Use Outdoor Digital Signage
Outdoor digital signage has become extremely popular in recent years and for a very good reason. This incredible technology has seen numerous advancements that allow it to be a staple
The Future of Outdoor Digital Signage: Weatherproof Displays and Sustainability
The future of outdoor digital signage is increasingly shaped by two key trends: the need for weatherproof displays and the drive toward sustainability. These trends are driven by technological advances,