
Digital menu board guide
How to Create a Digital Menu Board
To create a digital menu board, set your sales goals, choose the right screen size and brightness, design the menu artwork, have the screens installed and connected, and then manage your content from the cloud. This guide walks through the five steps, with the sizes, brightness levels and prices we use on real projects.
By Netvisual Marketing Team. Last updated November 8, 2026
Key takeaways
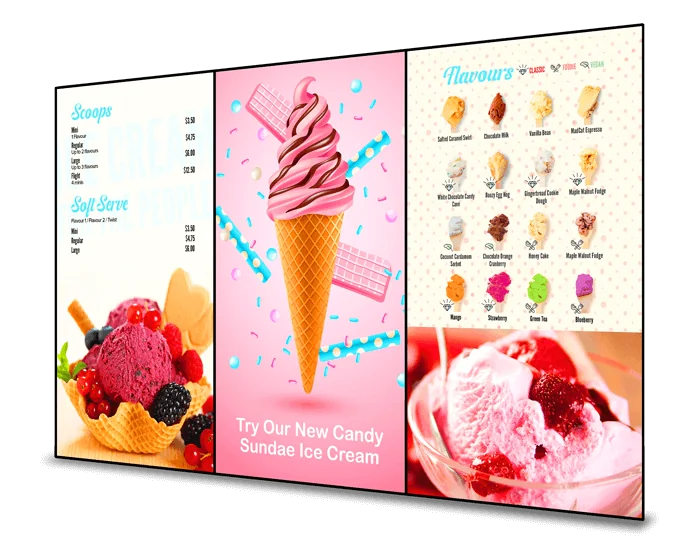
- Start with your sales goals, not with the screens: dayparting, upselling, cross-selling, limited-time offers and screen takeovers shape everything else.
- A typical quick-service restaurant uses 3 to 5 side-by-side displays from 43” to 65”. Choose 350 nits for most indoor rooms, 500 nits for bright rooms, 3,000 to 5,000 nits for storefront windows and 3,000 to 4,000 nits for drive-thrus.
- Design the menu from your layout, not from a generic template. Use about 1 inch of text height per 10 feet of viewing distance for titles, high contrast and photos you can trust.
- SoC displays have the media player built in, so installation means mounting, network setup and an on-site test.
- After launch you update prices, promotions and daypart menus from the Netvisual web portal.
What you need before you start
Screens
Commercial displays in the size and brightness your location needs. LG and Samsung SoC displays need no external media player.
Media players
Only for regular TVs and displays without a built-in player.
Menu artwork
A layout built for your menu, your brand and your screens.
Mounting and network
Wall or ceiling mounts and a Wi-Fi or Ethernet connection.
Software
Cloud software to update, schedule and monitor your screens from anywhere.
Step 1: Set your revenue and promotional goals
Before you design anything, decide what you want the screens to do at the point of sale. A menu board should do more than list products and prices. It should influence what customers buy, raise the average order value and highlight the items and promotions that earn you the most.
Start with what makes your restaurant different and how you want customers to see it. Then build marketing programs around those goals:
Daypart marketing
Promote different products throughout the day, such as breakfast, lunch, dinner, happy hour or late-night specials. Menus switch automatically at set times, so customers always see the most relevant offer.
Deal of the day
Feature a different promotion each day of the week to encourage repeat visits.
Upselling
Encourage larger sizes, combos, premium toppings and add-ons during peak ordering periods.
Cross-selling
Recommend products that pair well with popular items, such as drinks, desserts or sides.
Limited-time offers
Run seasonal and promotional campaigns for a defined period.
Screen takeover
Use full-screen video and synchronized content across all displays to maximize visibility and make a memorable promotional impact.
Promotional displays
Showcase your best items, limited-time offers and upcoming promotions with dedicated screens. Options include portrait-oriented screens and portable standalone kiosks that you can place where they have the most impact.
Window-facing displays
High-brightness screens inside front windows catch the attention of pedestrians and passing traffic and turn more passersby into customers.
Drive-thru menu boards
If you offer drive-thru, outdoor digital menu boards are essential. They promote high-margin products and new items, and they encourage upselling and cross-selling at the point where customers decide.
A clear sales strategy is the foundation for the design in Step 3. It makes every screen work for you instead of just replacing the printed menu.
Step 2: Choose the right screen size and orientation
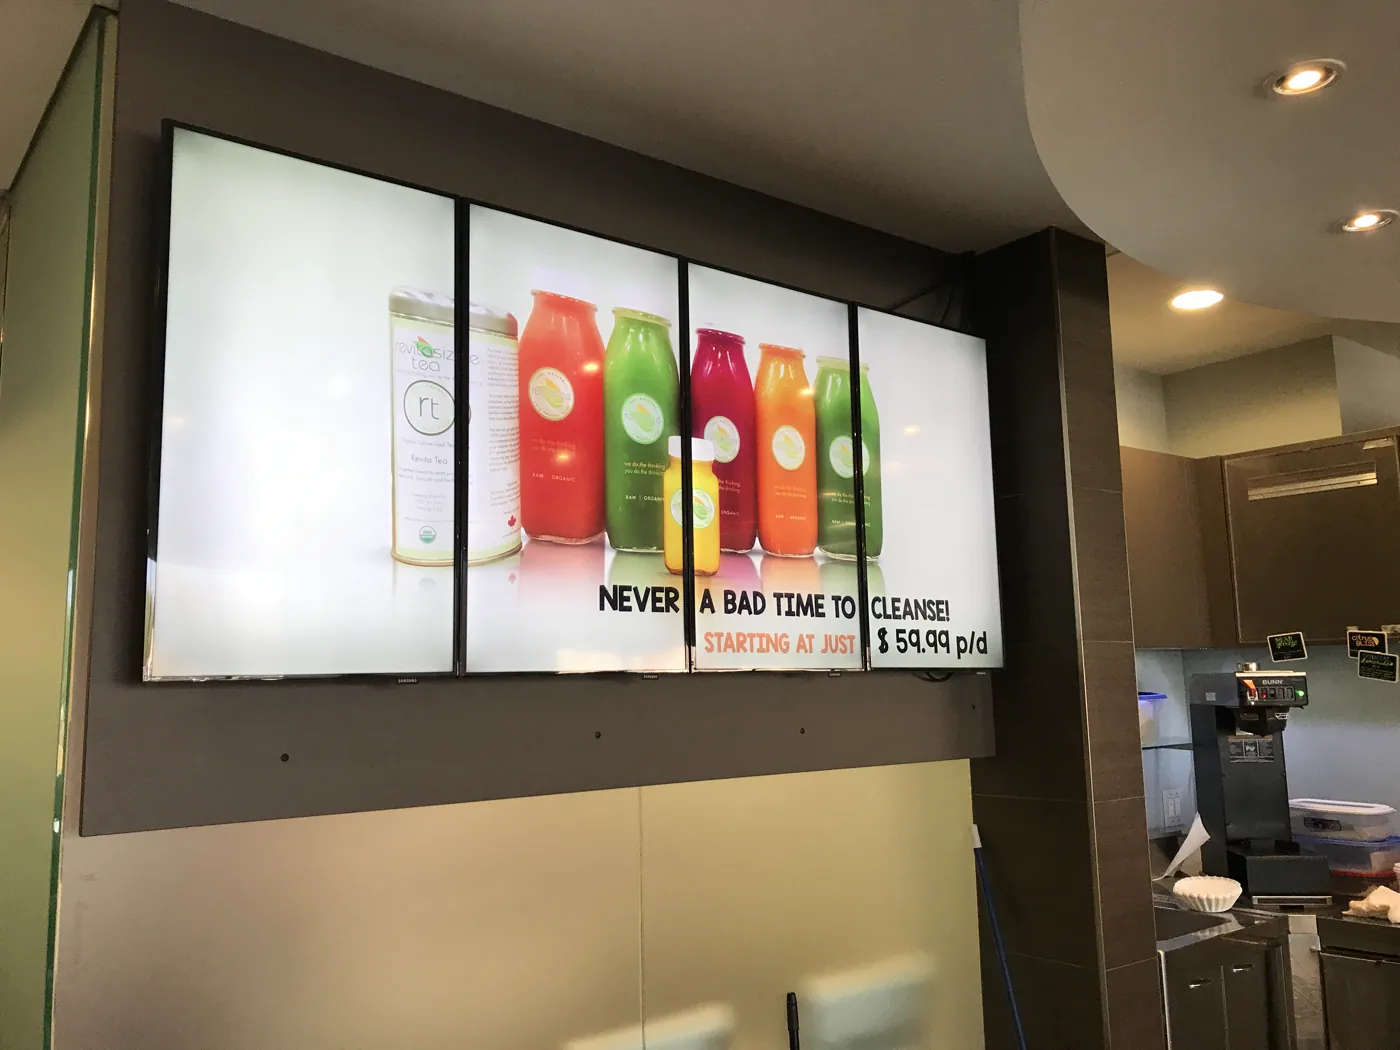
The right size and orientation depend on how many menu items you need to show, the promotions from Step 1, your budget and the space you have, whether the screens are wall-mounted or suspended from the ceiling.
A typical quick-service restaurant uses 3 to 5 side-by-side displays, usually from 43” to 65”, in landscape or portrait. The best layout depends on your menu structure, your branding and how much promotional content you plan to show.
| Location | Typical sizes | Brightness | Notes |
|---|---|---|---|
| Indoor | 43” to 65”. A typical quick-service restaurant uses 3 to 5 side by side, in landscape or portrait. | 350 nits (LG UL3Q) for most rooms. 500 nits (LG UL5Q or UH5Q) for bright rooms, large windows and food courts. | Wall-mounted or suspended from the ceiling. |
| Window-facing | 49”, 55” and 75”, in portrait or landscape. | 3,000 to 5,000 nits, to overcome direct sunlight and glare on the window glass. | Priced from $3,200 per screen. |
| Drive-thru | 46”, 49” and 55”, usually in portrait. Single, dual or triple units, wall-mounted or on a pedestal. | 3,000 to 4,000 nits with automatic dimming. | IP56 display and IP66 enclosure ratings and a -30 to 50°C operating range. Optional audio, speakers and vehicle proximity sensors. $9,000 for a single unit to $23,000 or more for a triple unit. |
Brightness matters. Windows and outdoor screens have to beat direct sunlight and glare, which is why they need far more brightness than an indoor screen. See the menu board size options and our commercial grade screens.
Step 3: Design your menu board artwork
Your design should follow the sales strategy and screen layout from the first two steps. Every restaurant has its own goals, branding and promotions, which is why generic templates often fall short.
A graphic designer with signage experience, using the right software and AI tools, can create a custom menu board that reflects your brand, highlights your promotions and guides what customers order. At Netvisual, menu design is $150 to $450 per screen, depending on the layout, your branding and any animation. Learn about our content design service.
Design tips
Make text readable from a distance
A common signage rule is 1 inch of text height for every 10 feet of viewing distance. Use it for titles. Item names can be smaller, about 0.5 inch per 10 feet, and descriptions smaller still, about 0.3 inch per 10 feet. Drive-thru menus are read from a car, so use larger text there.
Put contrast before color
White text on a dark background, or dark on light, is far easier to read at a distance than low-contrast color combinations. Keep brand colors for accents and highlights, and check contrast before you publish.
Balance images and text
Graphic menus pair product photos with names, descriptions and prices. Text menus fit more items on a screen. Use high-resolution, professionally edited photos, and remove backgrounds where it helps the layout look clean.
Use video with a purpose
Video works well for featured items, promotions and limited-time offers. Too much motion distracts customers, so keep the core menu static, clear and easy to follow.
Do not overcrowd a screen
If the menu is long, split it across several screens instead of shrinking the text.
Follow the labelling rules
Your designer needs to know the menu labelling rules where you operate. In Ontario, see our menu labelling requirements guide.
Step 4: Installation and setup
This is where all the components come together. A professional installation team mounts the displays, installs the media players or configures the built-in SoC (System on Chip) displays, connects the system to the network by Wi-Fi or Ethernet, and carries out comprehensive on-site testing to make sure everything works correctly.
Installation costs $250 to $600 per project, depending on the number of screens and the method, such as wall-mounted or ceiling-mounted. Mounting hardware is $80 to $300 per screen, and media players are $195 to $295 per screen where they are needed. Learn about our installation service.
Step 5: Manage and update your menu boards
With the Netvisual web portal you can monitor your displays, change your menus instantly and schedule promotions from anywhere. Launch limited-time offers, daypart menus, upselling and cross-selling campaigns with a few clicks.
Keep refining your content: refresh promotions, retire items that do not sell and feature those that do. Our software is $19.99 per screen, per month, with content management, scheduling, monitoring and technical support. See the menu board software.
What does it cost to create a digital menu board?
- Menu design: $150 to $450 per screen
- Screens: $600 to $995 per screen (43” to 55”)
- Media players: $195 to $295 per screen, not needed with SoC displays
- Mounting hardware: $80 to $300 per screen
- Installation: $250 to $600 per project
- Software and support: $19.99 per screen, per month
- Window-facing displays from $3,200 per screen. Drive-thru menu boards from $9,000 for a single unit to $23,000 or more for a triple unit
See the full table and a worked example on digital menu boards for restaurants, or request a quote.
Creating a digital menu board: frequently asked questions
How do I create a digital menu board?
Set your sales goals and promotions, choose the screen size, orientation and brightness for each location, design the menu artwork, have the screens mounted and connected to the network, and then manage your content from a cloud portal. Netvisual handles each of these steps. Request a quote.
What do I need to make a digital menu board?
You need screens, a way to play content (either a media player or a System on Chip display with the player built in), menu artwork, mounting hardware, a Wi-Fi or Ethernet connection and cloud software to update and schedule your menus.
What size screens do I need for a menu board?
A typical quick-service restaurant uses 3 to 5 side-by-side displays from 43” to 65”, in landscape or portrait. Window-facing displays come in 49”, 55” and 75” sizes, and drive-thru menu boards in 46”, 49” and 55” sizes.
How bright should a digital menu board be?
About 350 nits suits most indoor restaurants, and 500 nits suits rooms with a lot of daylight, large windows or a food court location. Window-facing displays need 3,000 to 5,000 nits, and drive-thru menu boards need 3,000 to 4,000 nits with automatic dimming.
How much does it cost to create a digital menu board?
Menu design costs $150 to $450 per screen, screens $600 to $995 each, mounting hardware $80 to $300 per screen and installation $250 to $600 per project. Media players cost $195 to $295 per screen and are not needed with SoC displays. Software is $19.99 per screen, per month. See the full cost breakdown.
Related: What are digital menu boards?, real menu board projects and digital menu boards for restaurants.
Let Netvisual create your digital menu board
Menu design, screens, software, installation, training and ongoing support from one partner.